POUR-OVER COFFEE
THE POUR OVER DEMYSTIFIED…

We’ve gotten a lot of questions about pour overs, so we thought we’d put this bit of information together.
The POUR-OVER brew method is one of the simplest manual brew methods. The basic premise is that instead of having an electric coffee maker that heats the water and then disperses it over the coffee, we the human is in charge of heating, then dispersing the water. This has a few subtle, and potentially advantageous differences, but the basics are in line with a standard drip coffee maker… ie, hot water is poured over ground coffee resulting in a delicious drink.
The potential advantage comes from then fact that some coffee makers use less than optimal parameters for brewing. Outside of the grind, water temperature as well as length of time and method of water distribution are what make the difference. Some coffee makers have less than optimal water temperatures and dispersion methods.
In the POUR-OVER, you the brewer have more control over these parameters.
So how does it work?
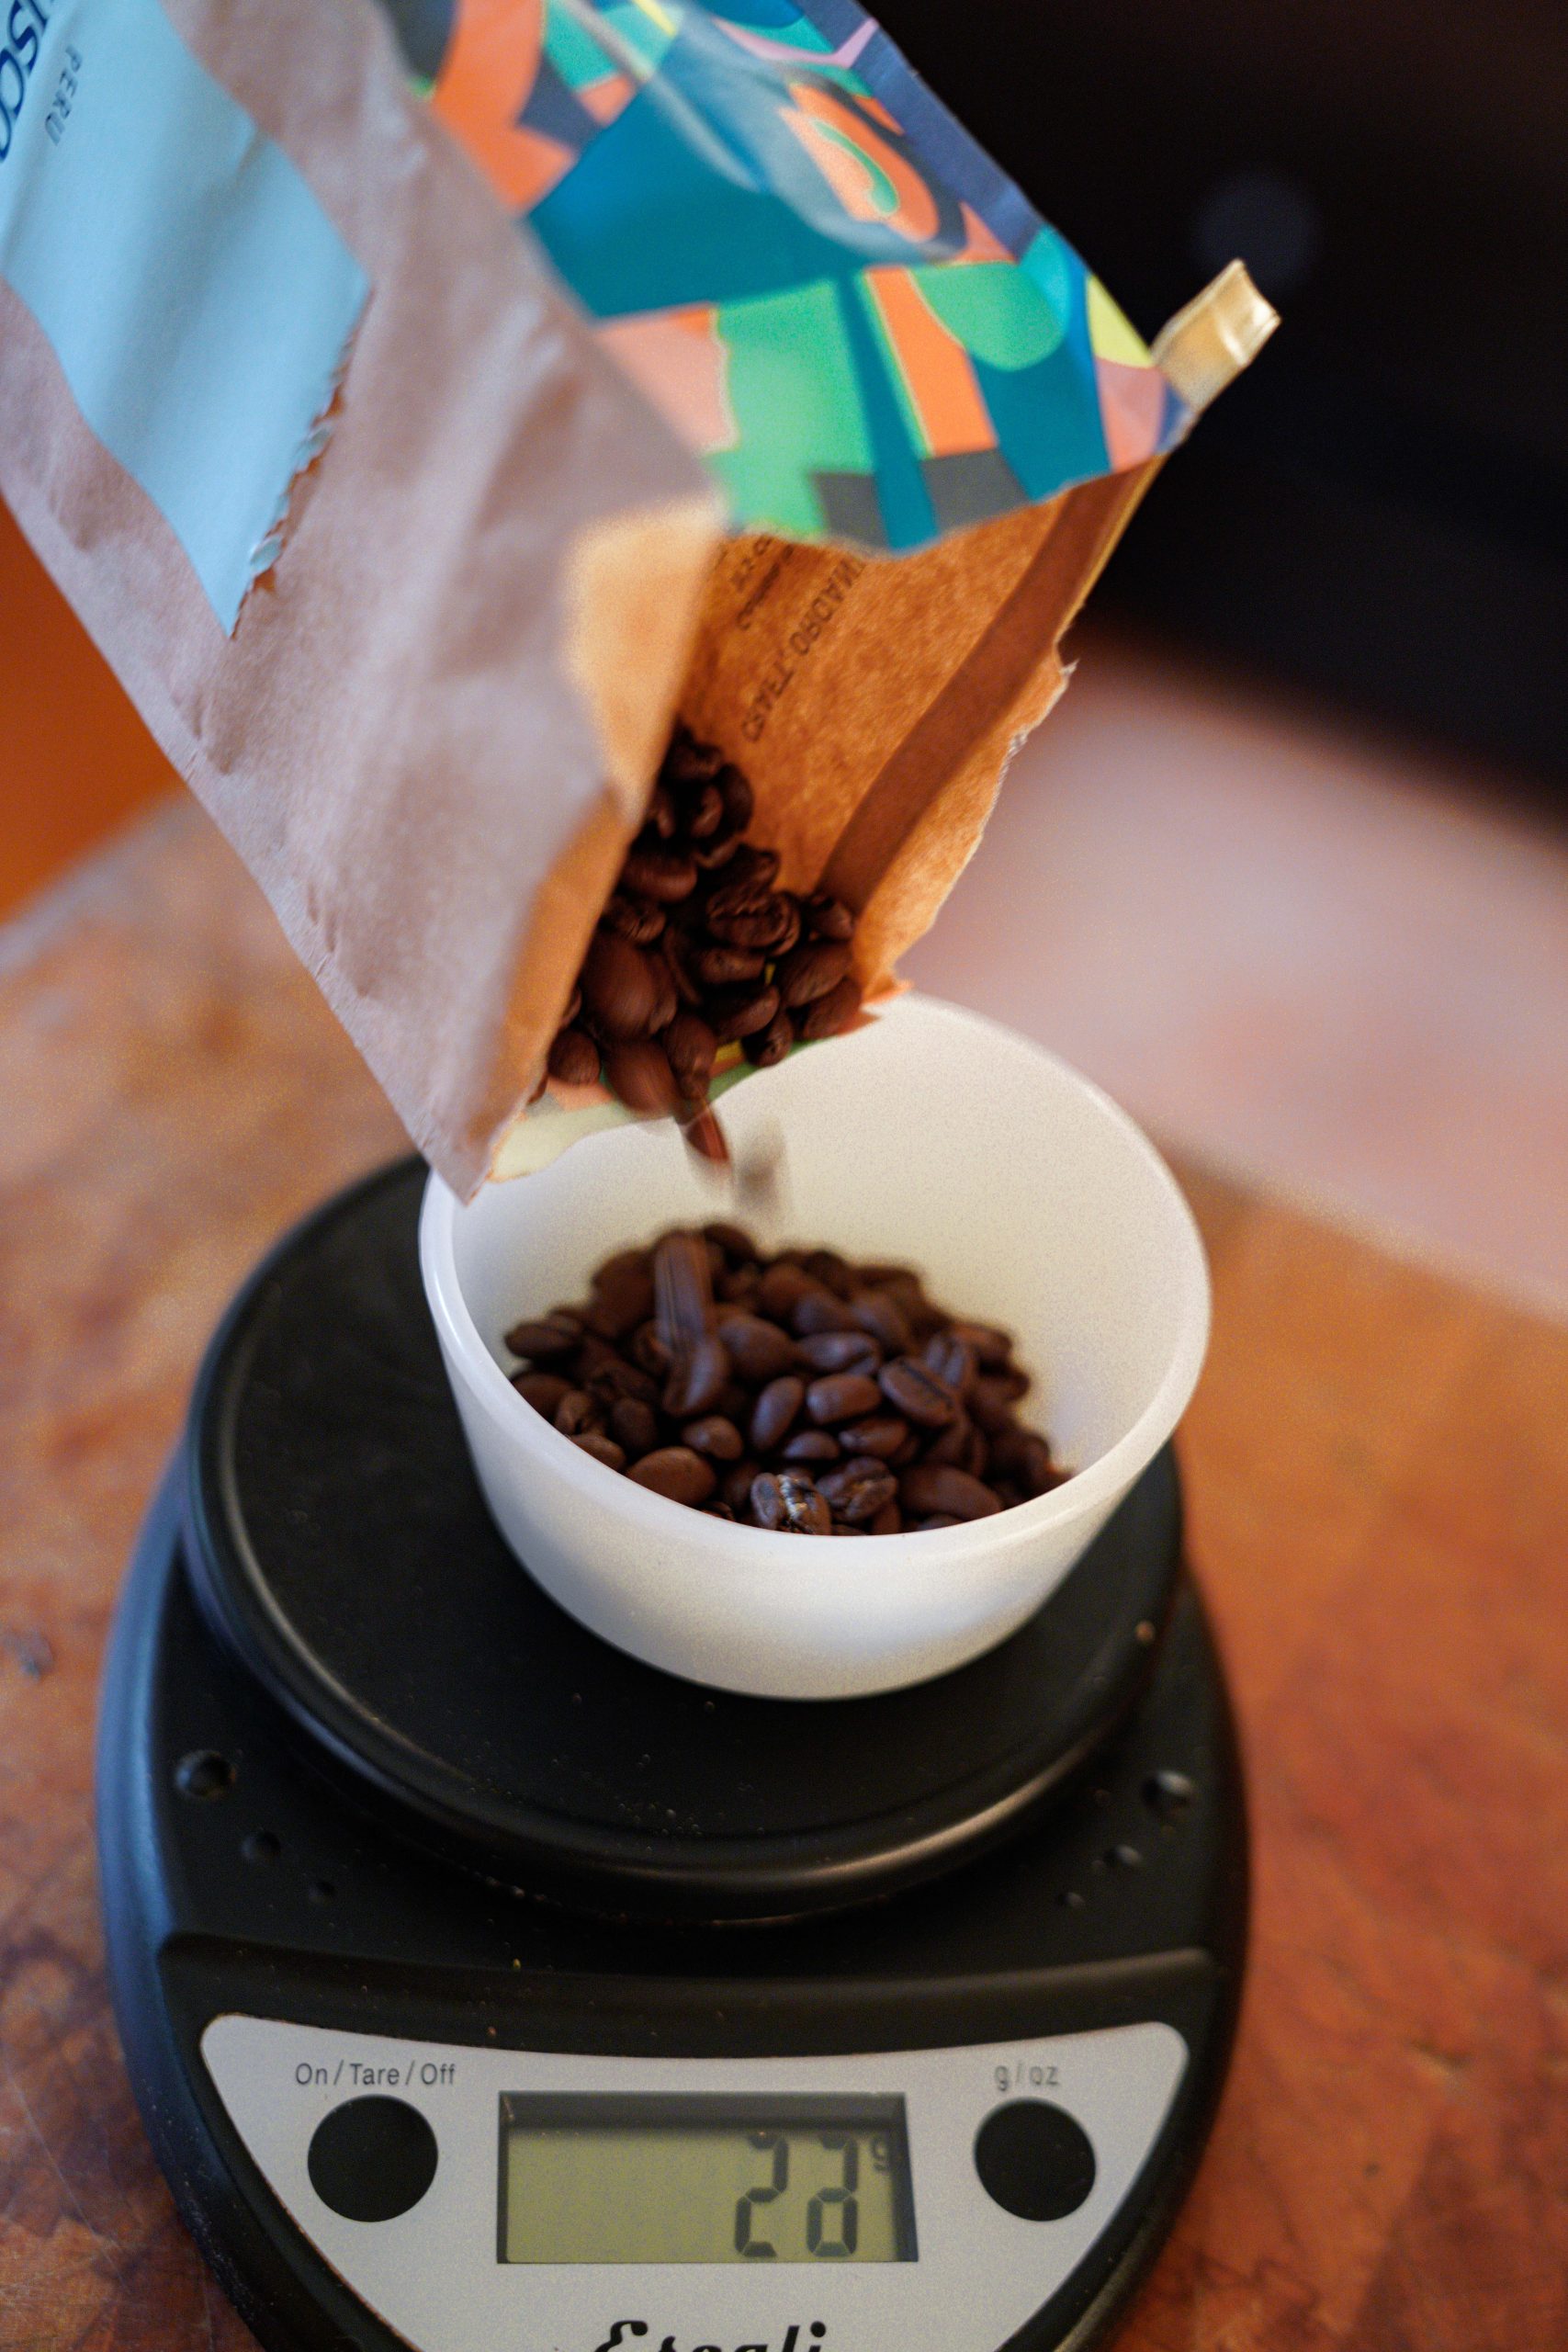
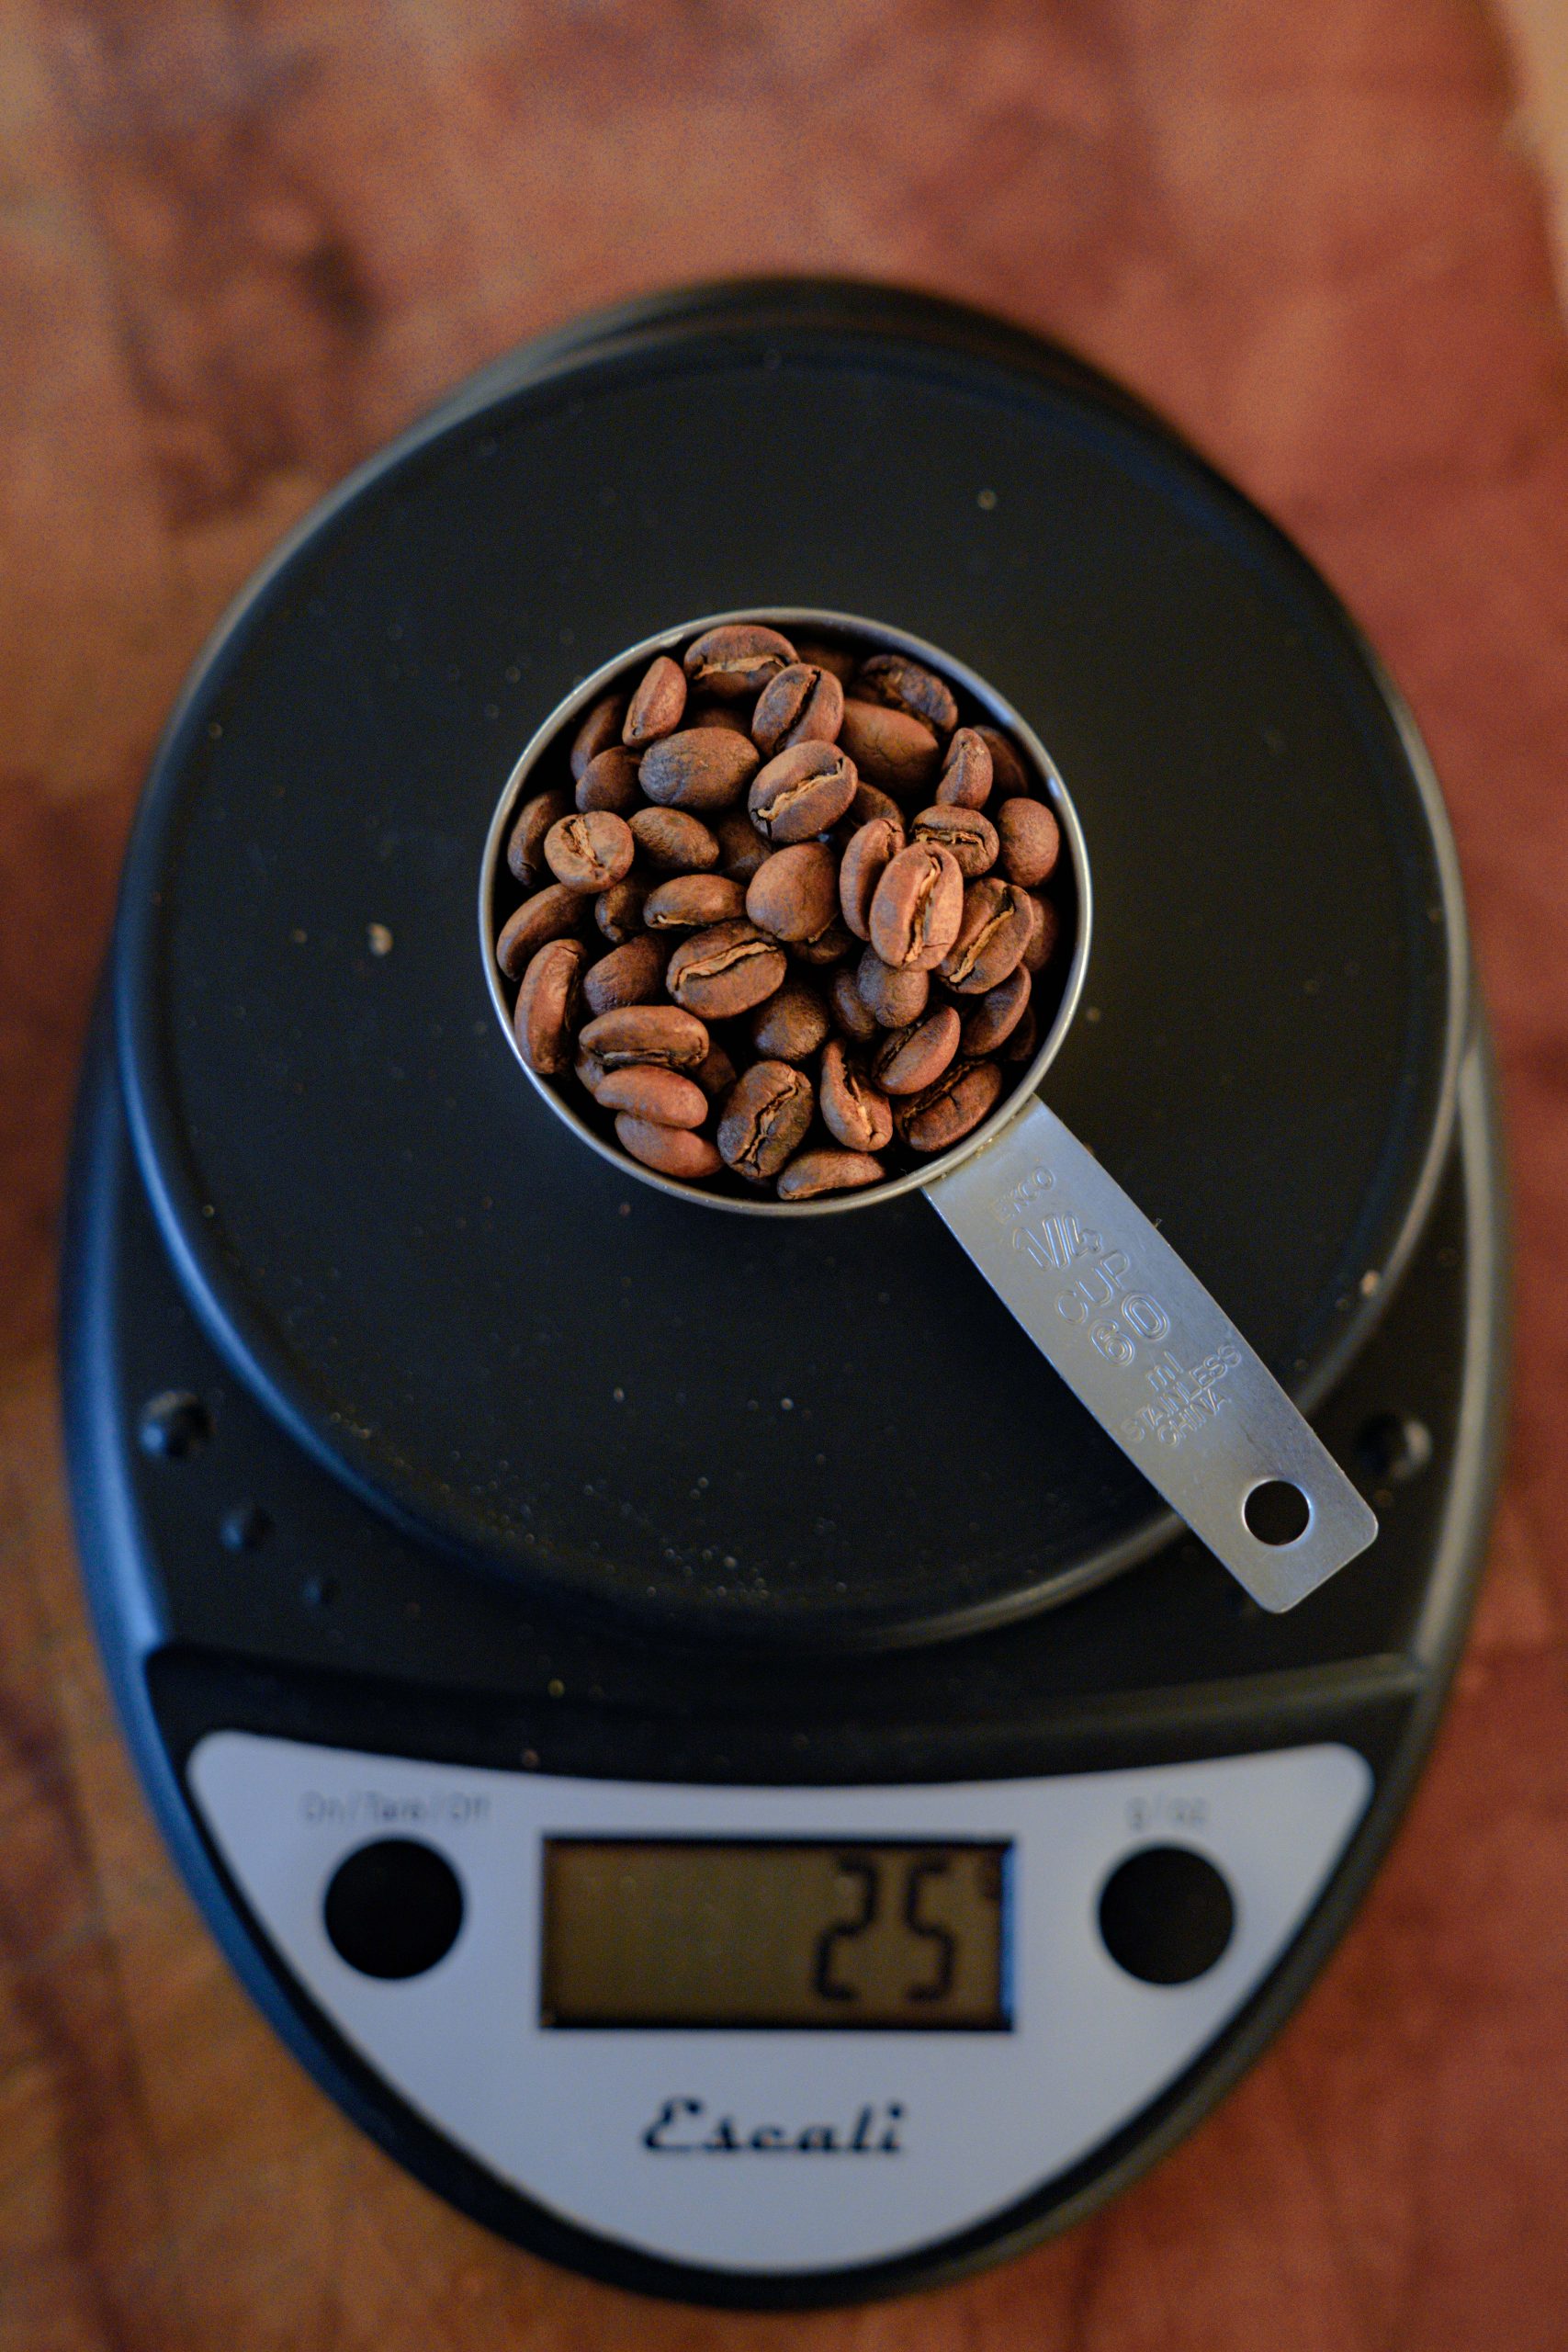
First how much? For a standard 1 cup pour-over, we recommend approximately 25 grams of coffee per cup… And while most recipes call for strict protocol, we do not. We believe in individual experimentation. For some, 25 grams may make a perfect 12 oz cup, while others will prefer a stronger 10 oz cup. But for a basic beginning point, 25 grams for a 12 oz coffee is a great place to start? Don’t have a scale? Don’t stress it, just use approximately 1/4 cup of whole beans. Grind it as you would for any drip coffee maker.
Before adding the ground coffee to the paper filter, I like to pour boiling water through the filter and cone… this not only washes out any “paper flavor” but also preheats the cone and mug. Be sure to empty the water out of the mug. Then put the ground beans into the paper filter.
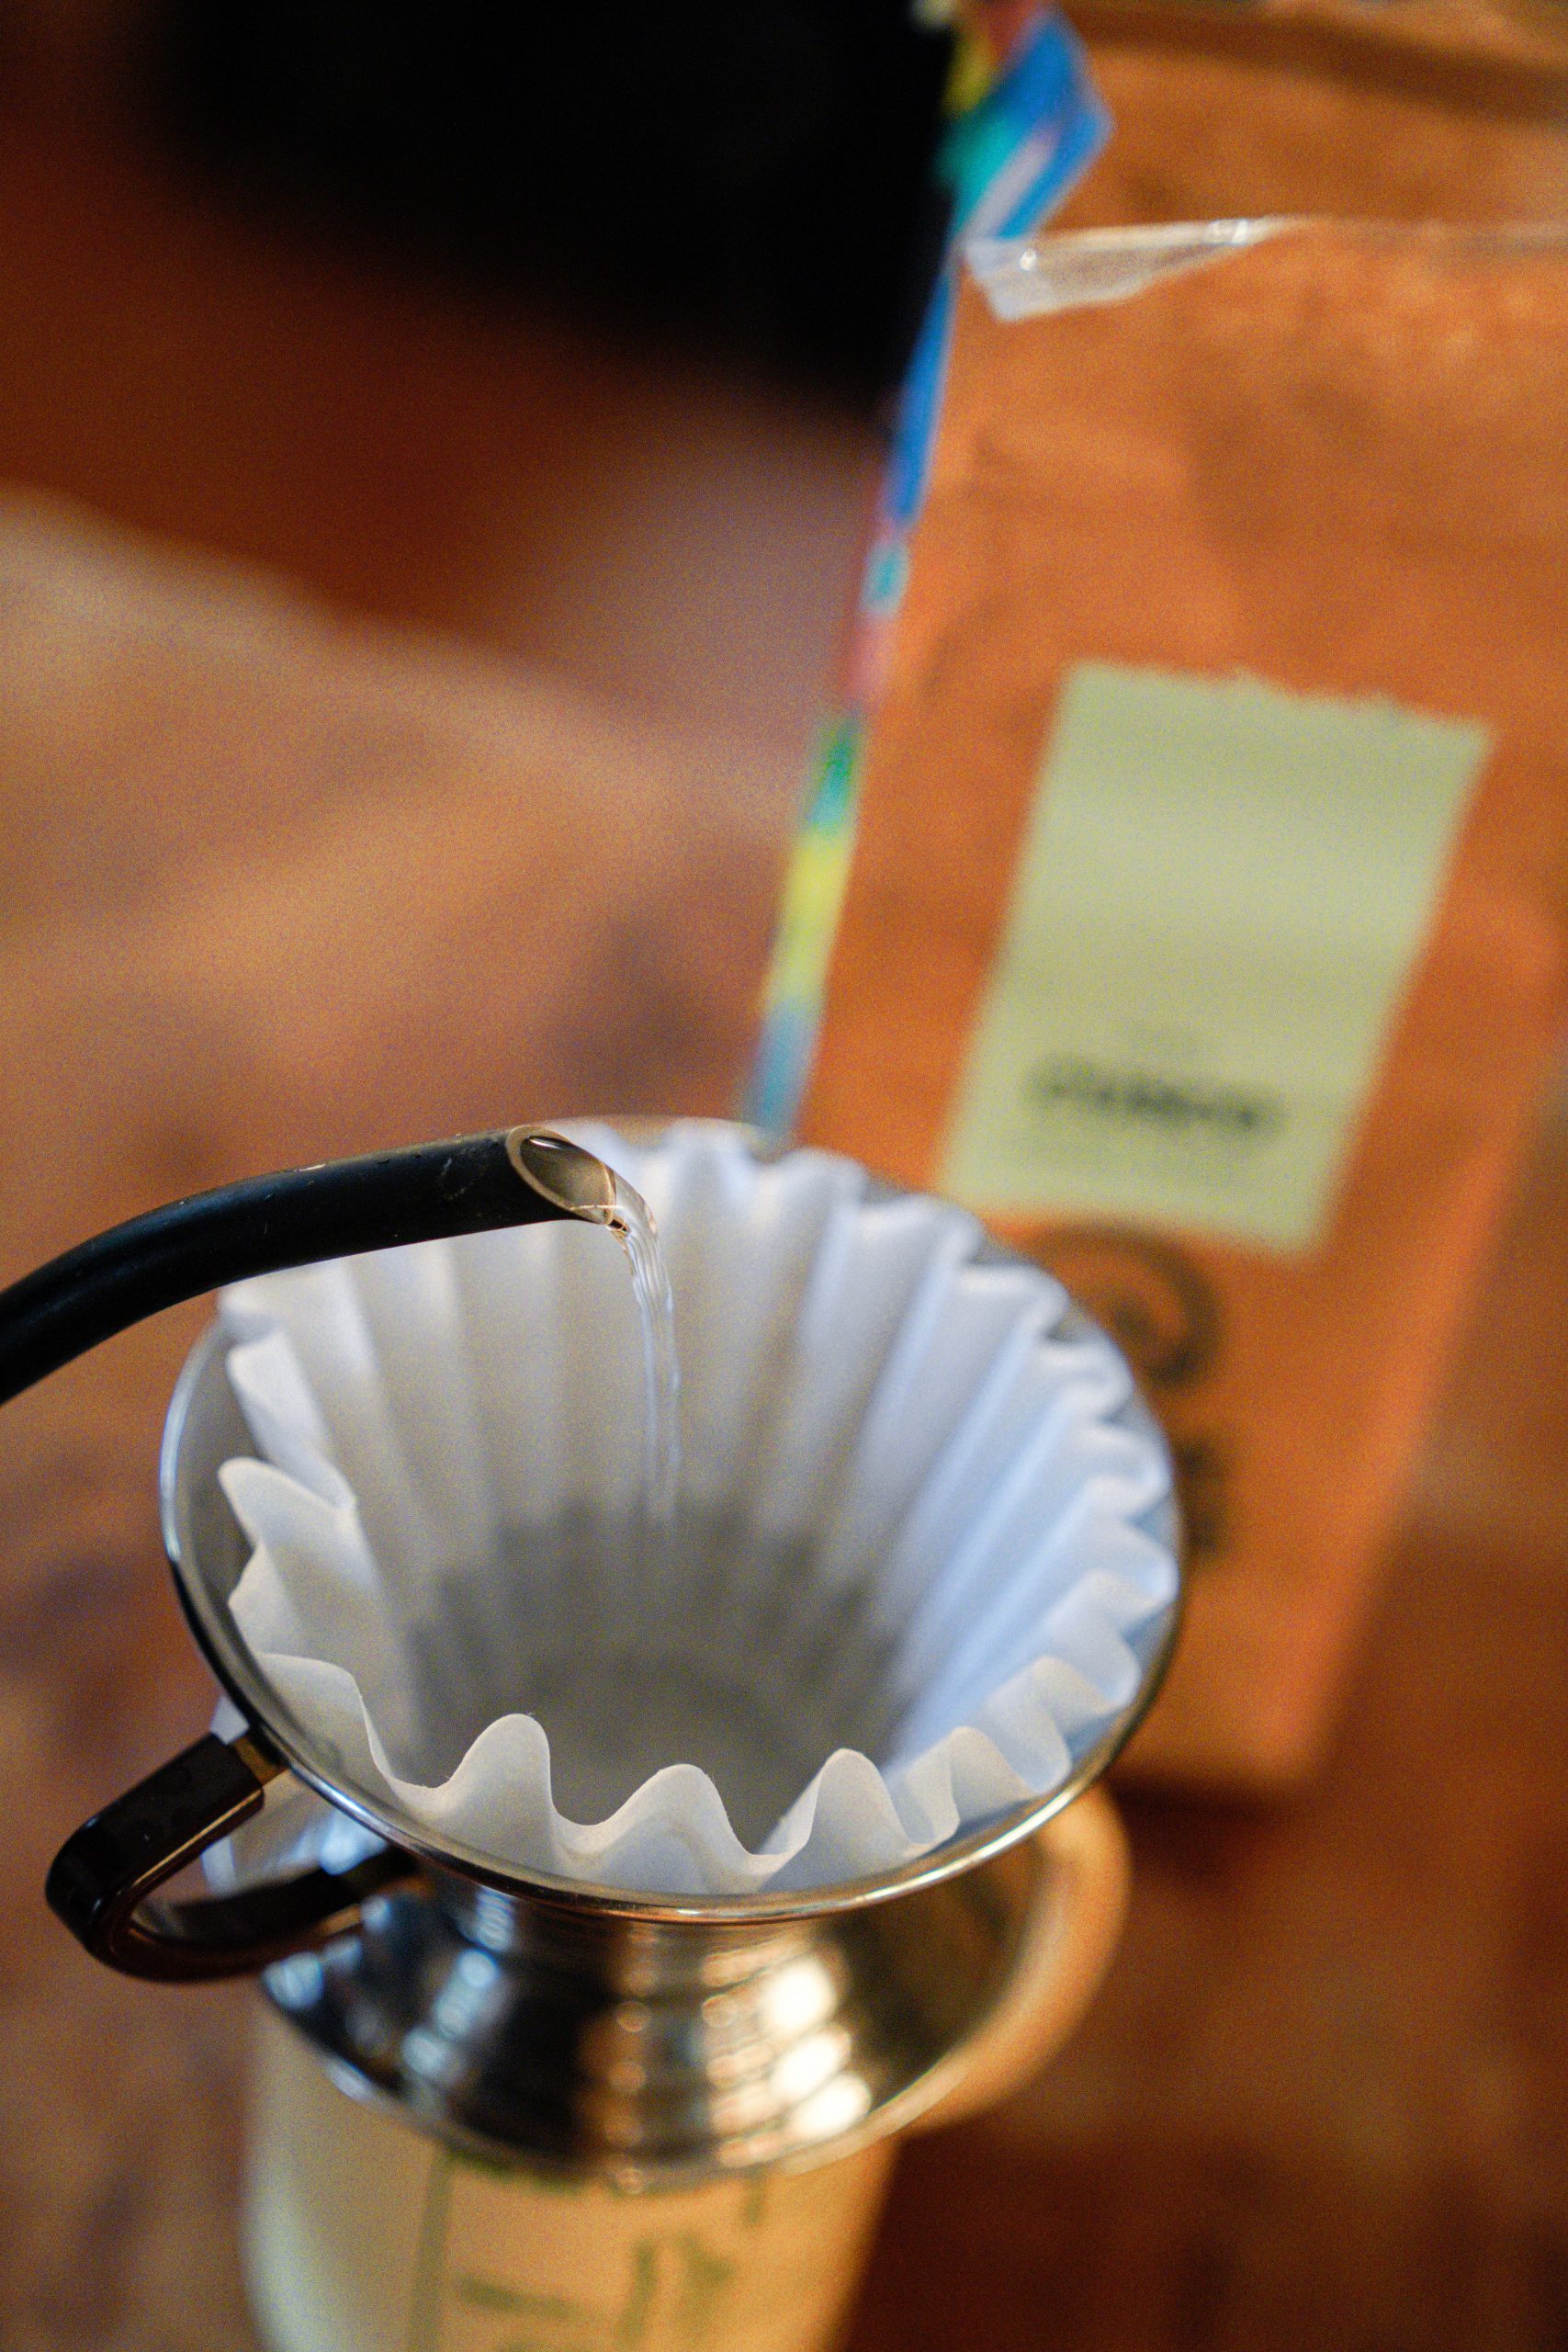
Up to this point, all things considered, the process has been the same as using a drip brewer. Now comes the moment where you get to make the difference, and can experiment to your liking (well, and grind & amount… those are pretty relevant to experimentation as well.) – Bring your water to a boil. At sea level this is 212 degrees fahrenheit, but in the Rockies in a place like Denver, it can be 202 F. The lower air pressure of elevation allows the water to boil at a lower temperature …science…. Here in Missoula, Montana I set my kettle for 204 and then let the kettle rest a few moments before I begin to pour. Why don’t you want it rapidly boiling? In general, boiling water is thought to over extract the oils in coffee, and it is incredible the subtle difference a few degrees make when making coffee, but again, we are proponents of experimentation and self-determination, so experiment away and let us know what you think!
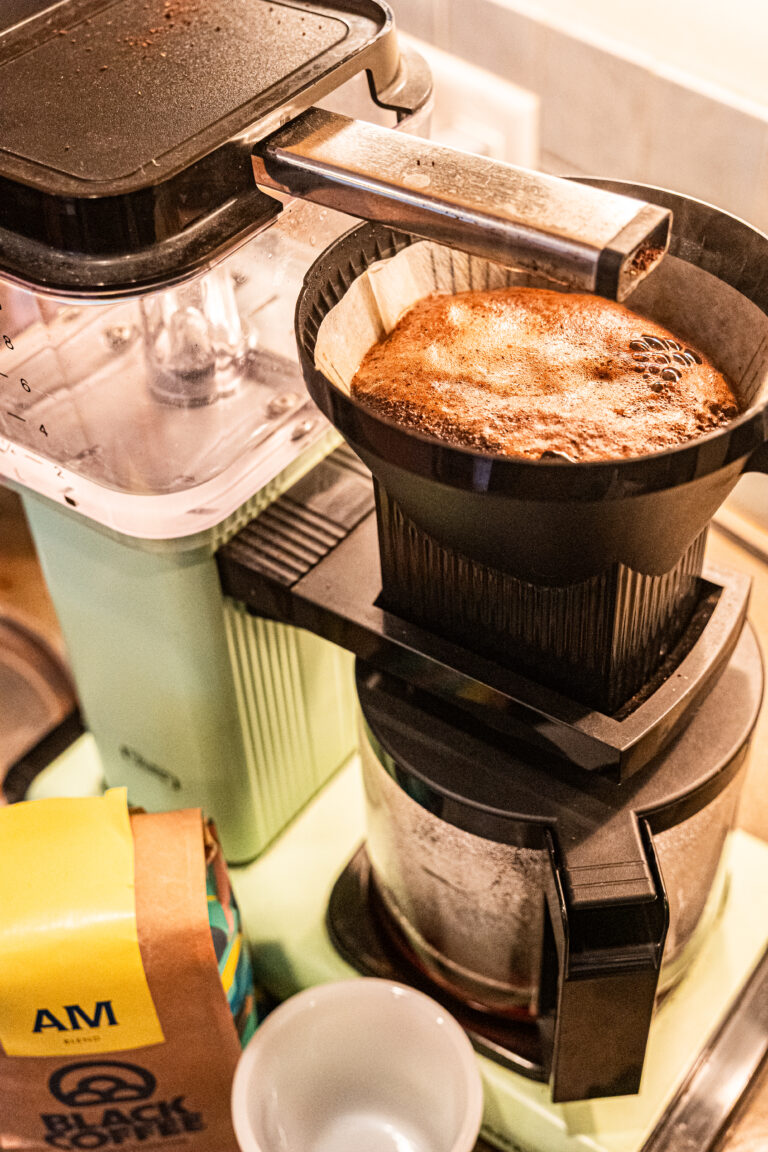
So in this first step of pouring, the goal is to saturate the beans evenly, but then allow them a moment (approximately thirty seconds) to bloom. This a wonderful moment in coffee making in which the beans are absorbing the water and the gases/air present in the beans are being pushed out. This is considered one of the distinguishing moments between automated and manual brewing… no automated brewer to my knowledge has a rest in water dispersion to allow for bloom.
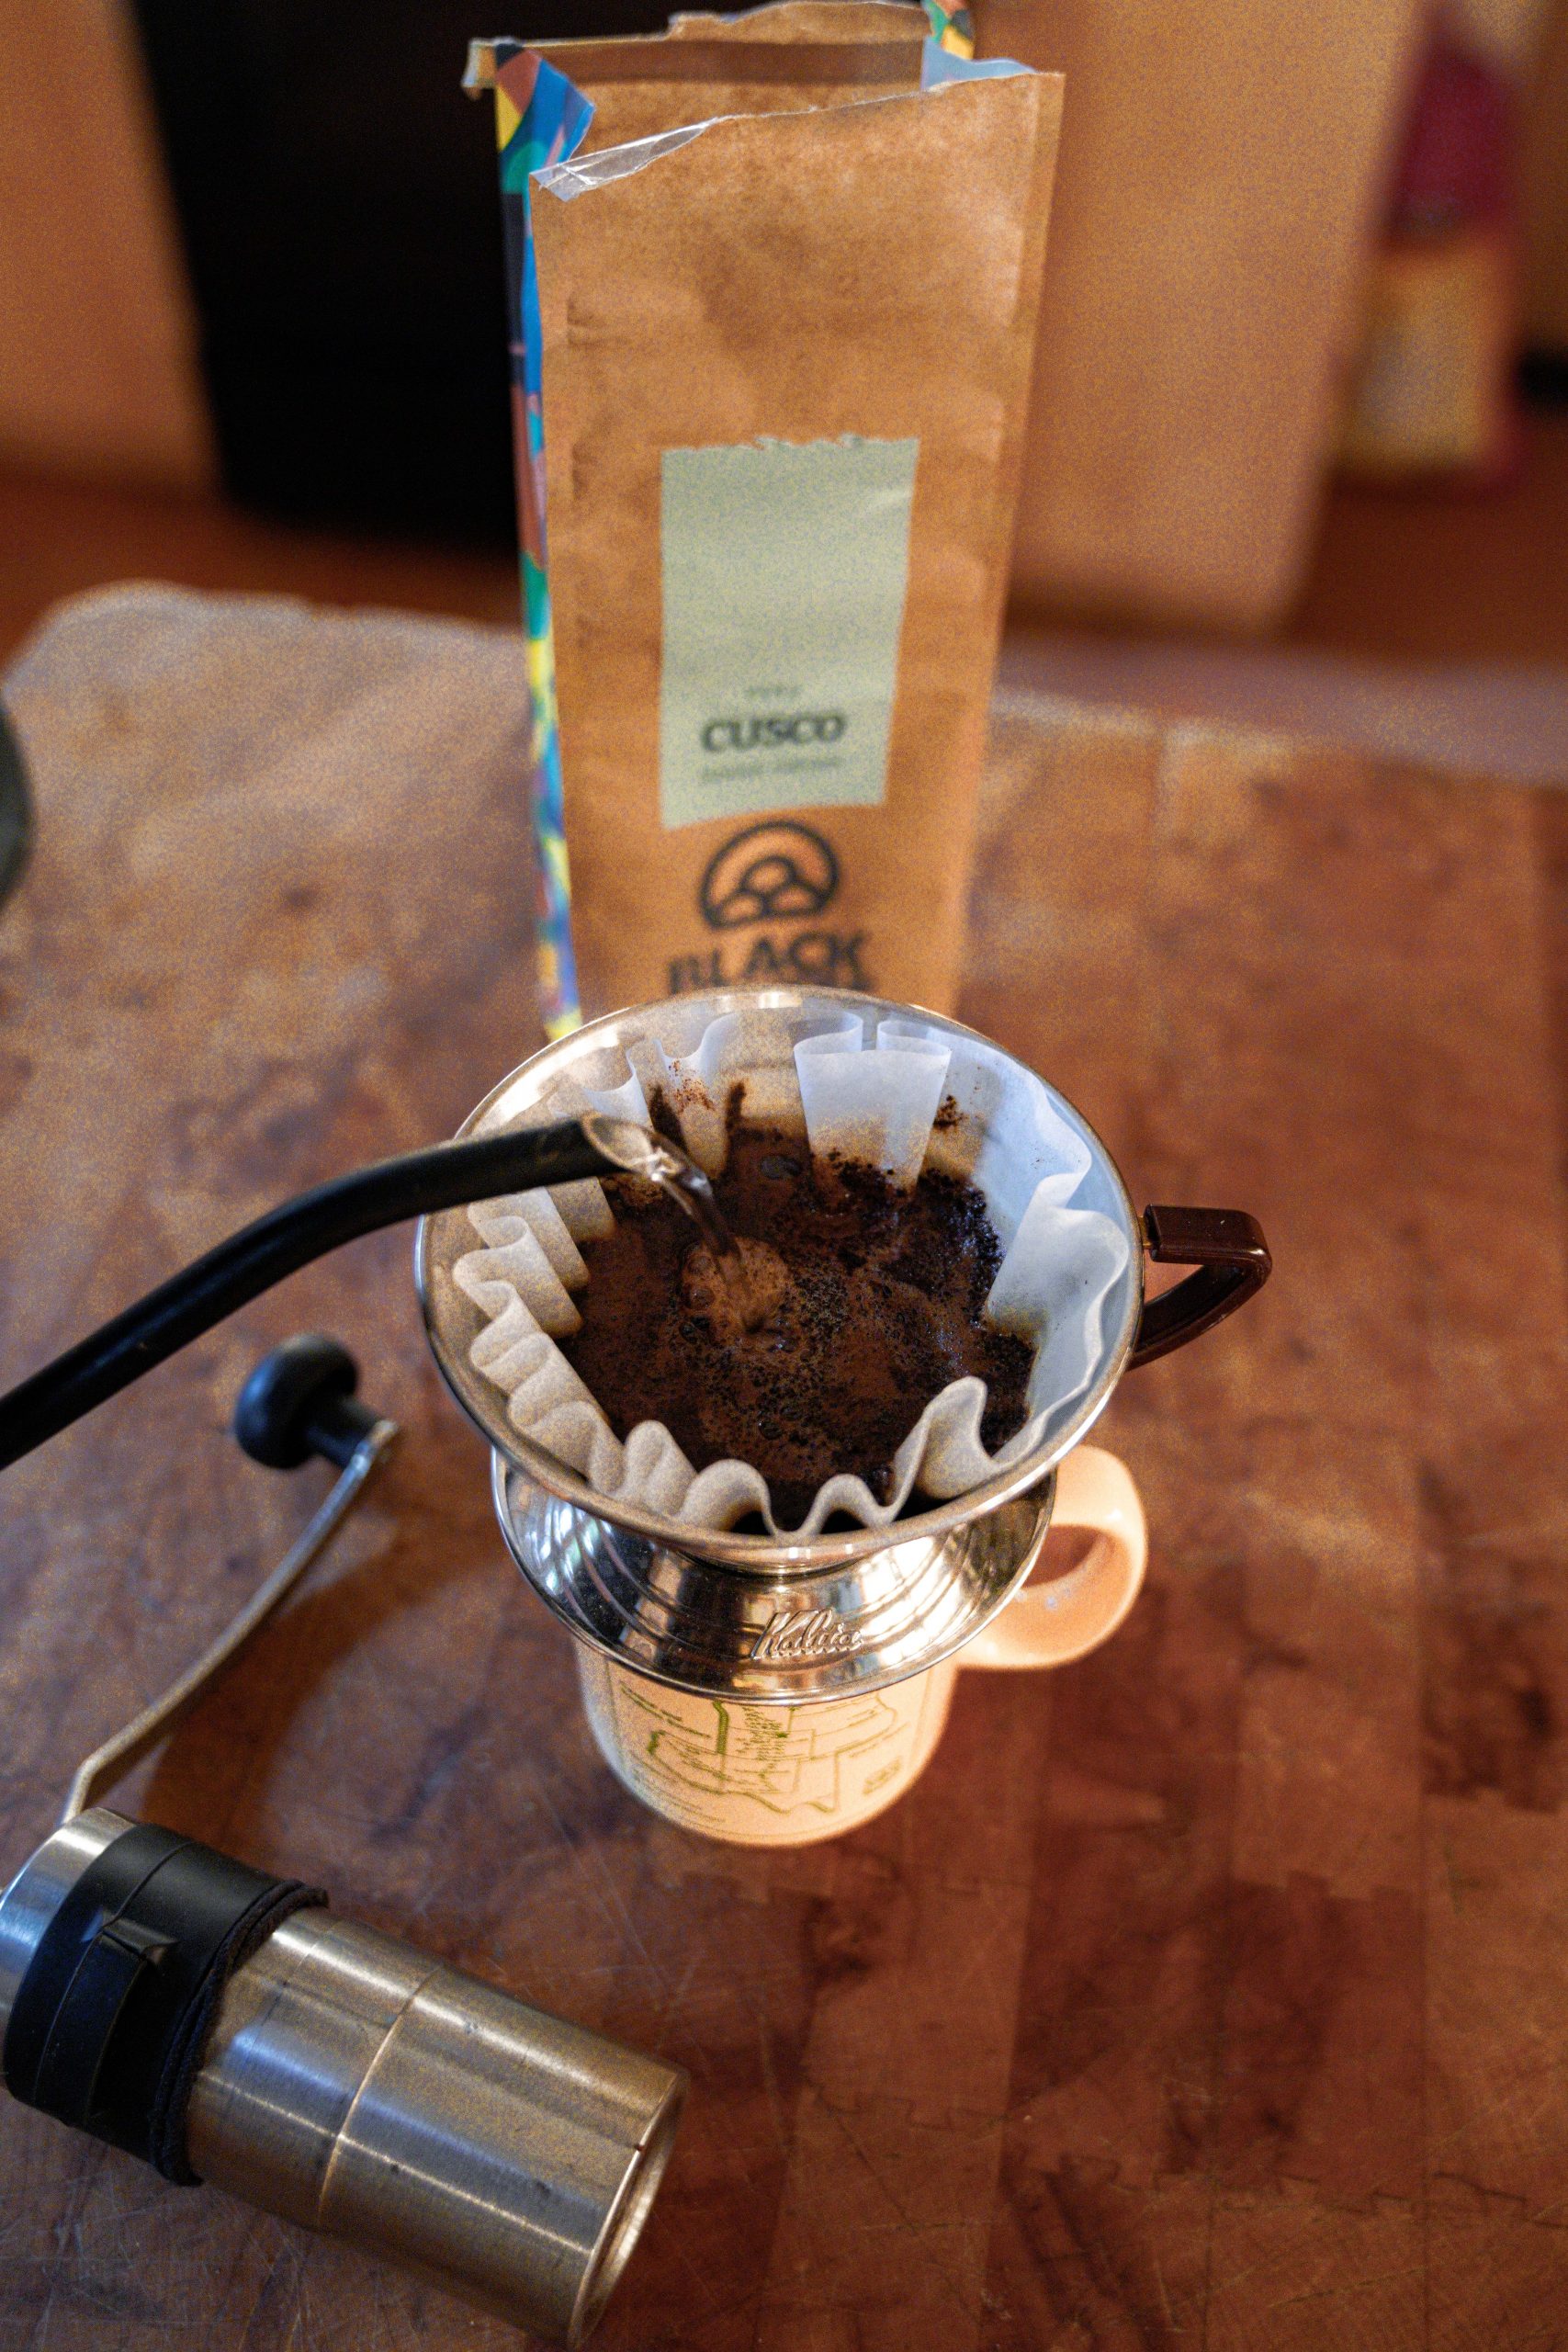
You can note that the fresher the coffee, the more air that is released in the bloom phase. This does not necessarily equate with a better tasting coffee though, as again freshness is a personal preference. For many, coffee that is only a few days old has a less developed flavor (more gassy, some some say) than coffee that has been able to off-gas a bit. But regardless, the moment of bloom is a great moment to stop and smell the coffee. After about 30 seconds of pause, resume pouring the water over the beans. Pour evenly back and forth, making sure to pause with the intention of brewing a total of around FOUR MINUTES total brew time. Also be sure to pour water from around the edges of the filter to wash down any coffee grinds that have worked up the sides of the filter. This allows for all the coffee to be extracted from during the brew time.
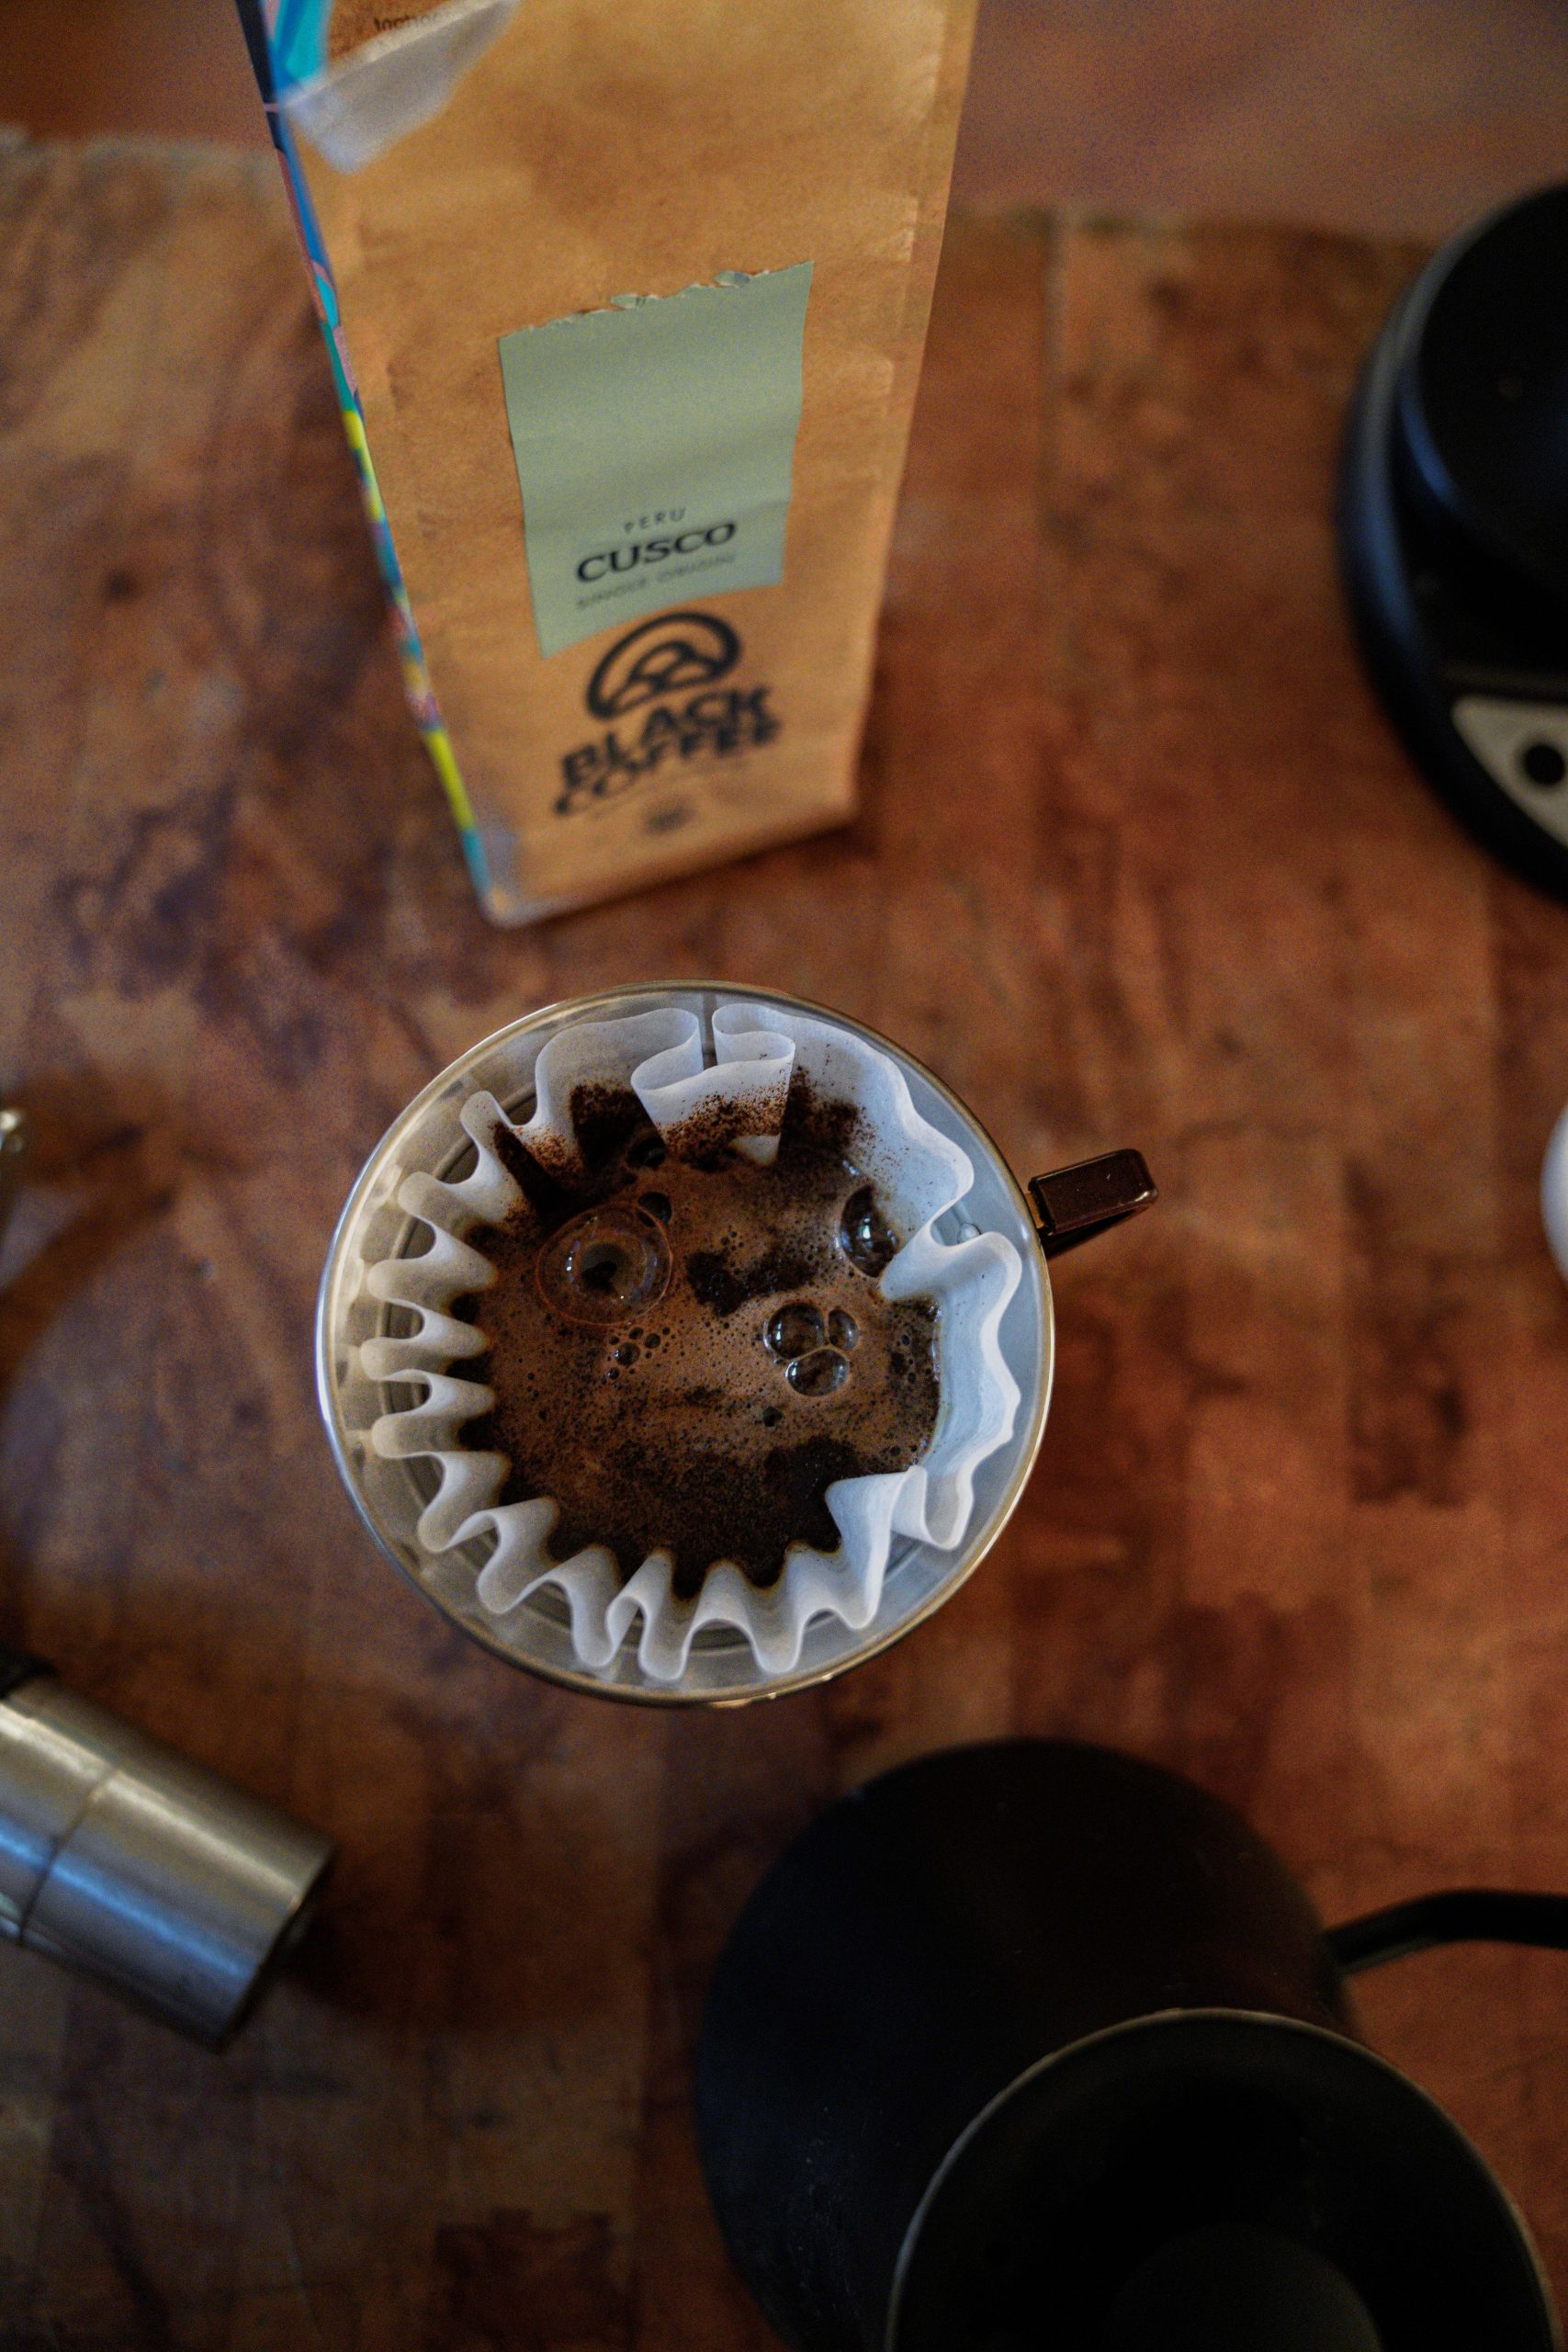
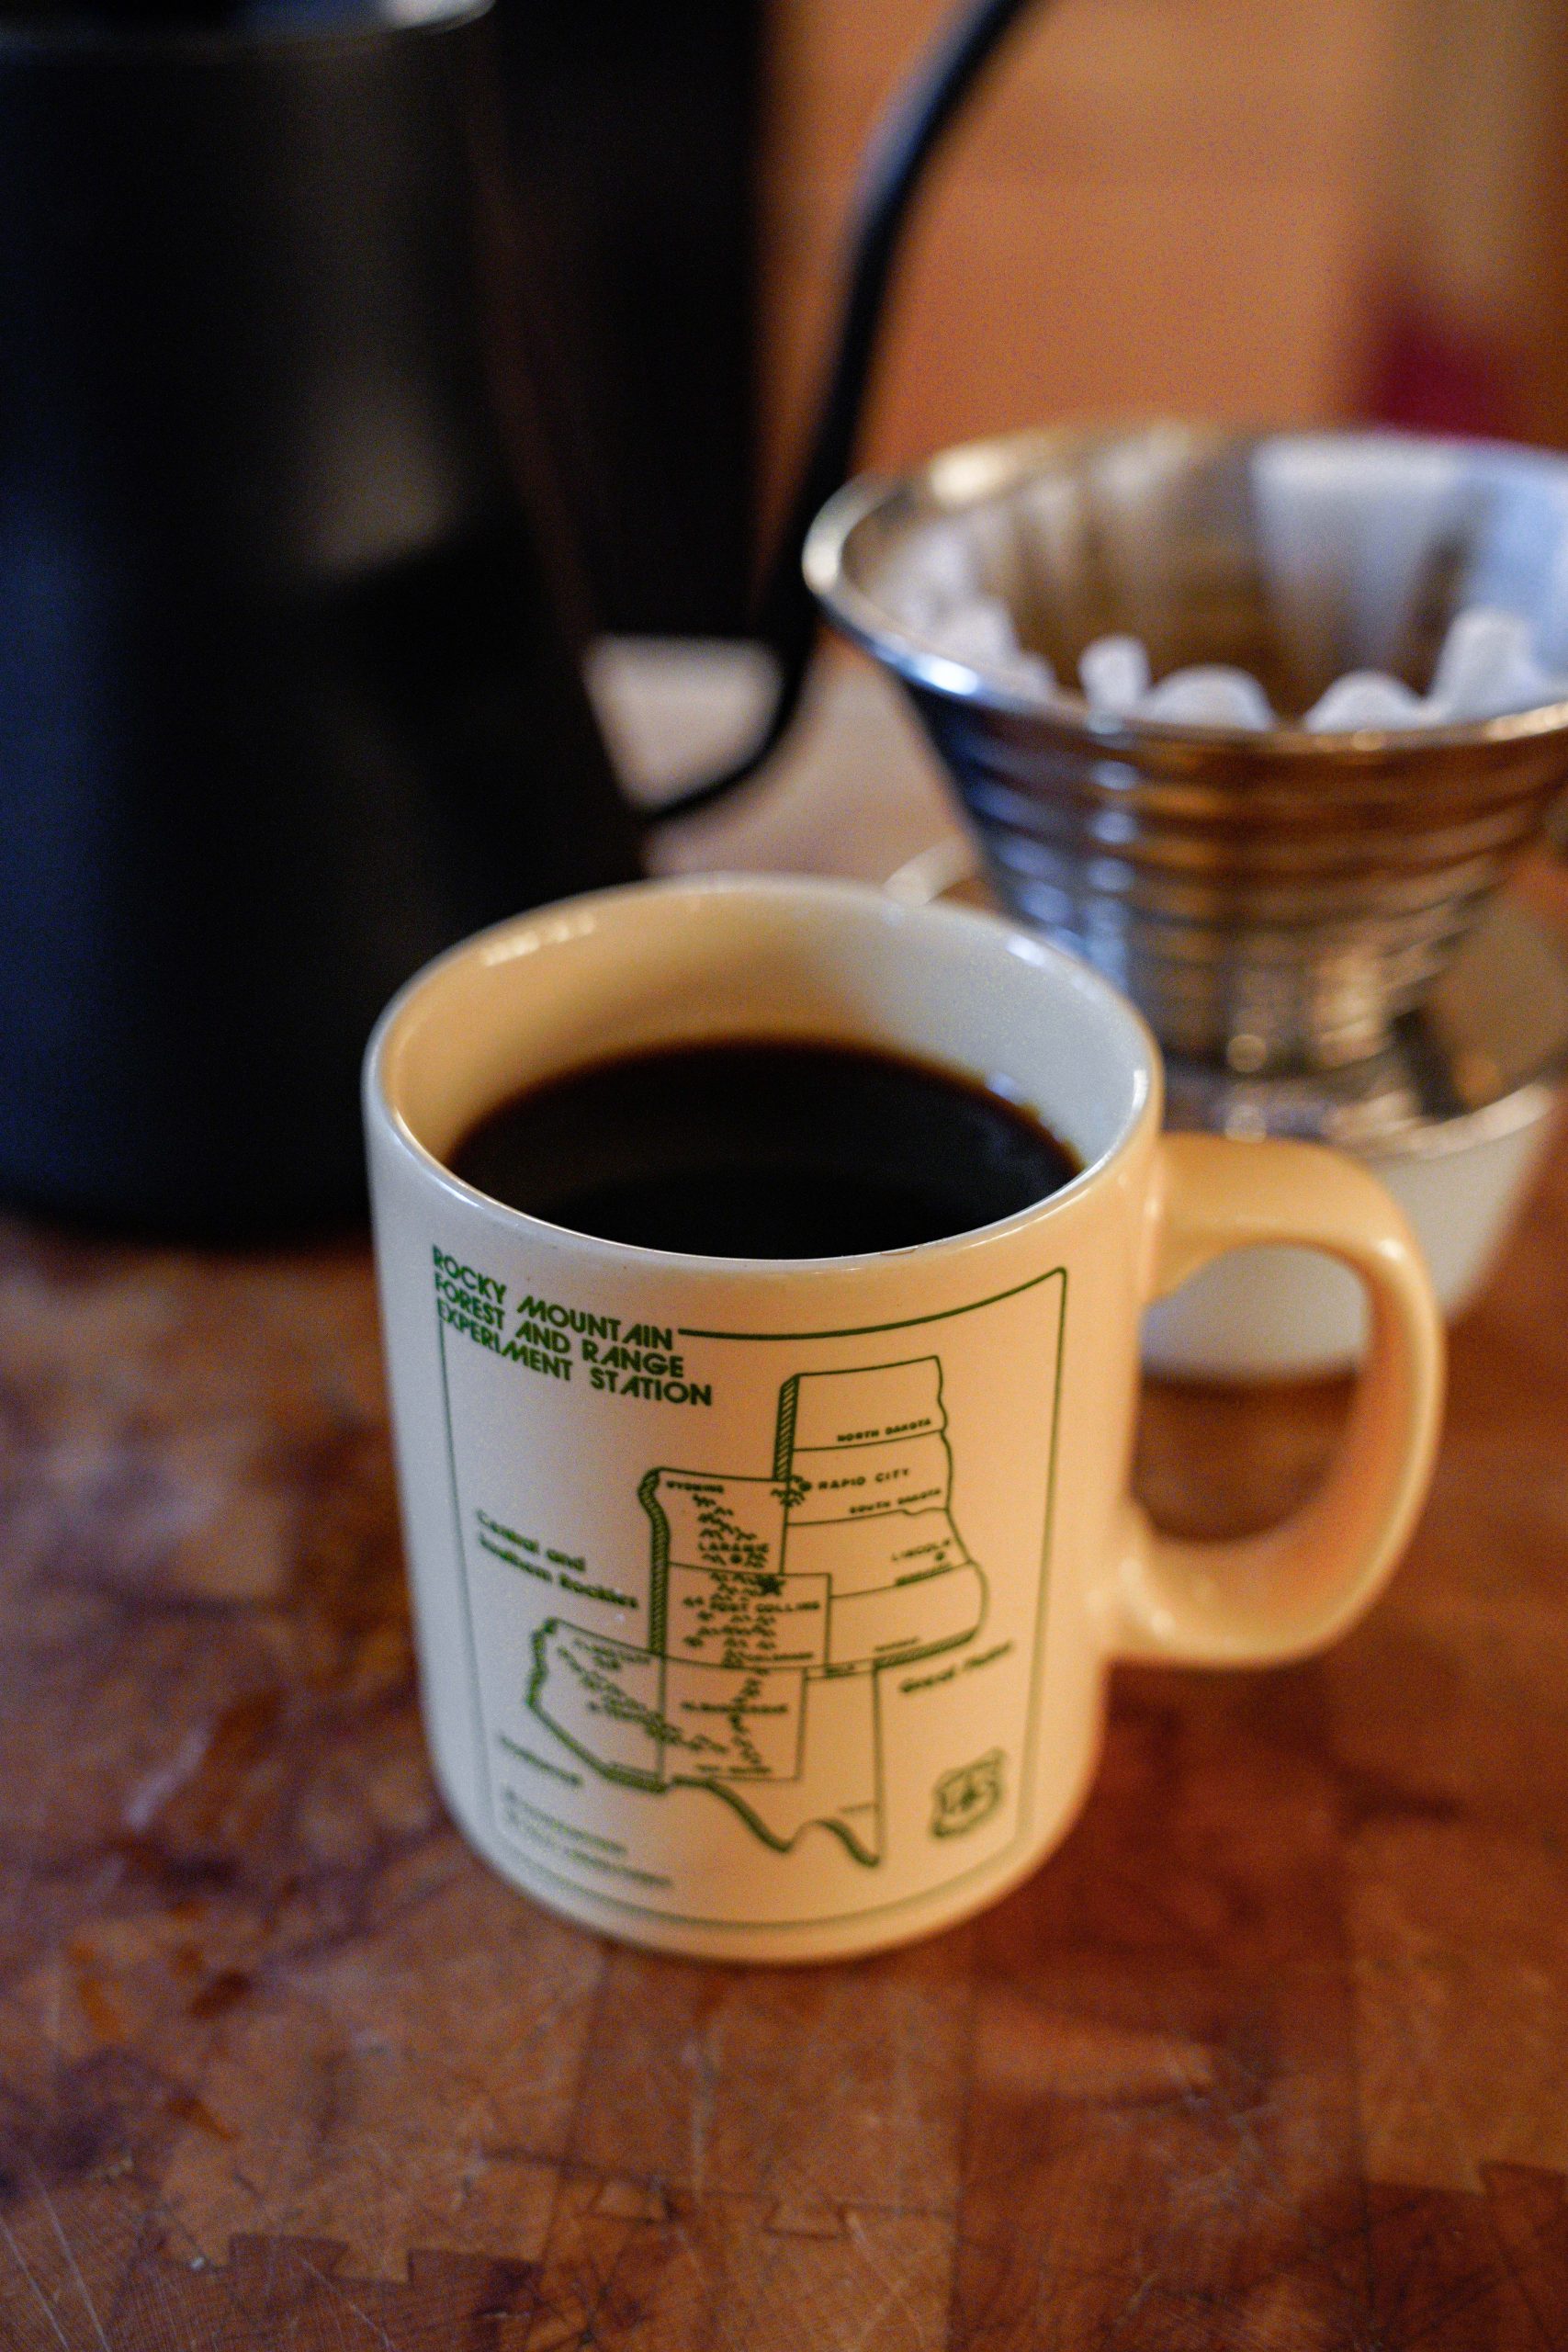
And then after four minutes… there you are. You have a simple cup of coffee. You were there along the entire process and in the future you can play with and tweak any of the parameters you see fit… grind size, coffee volume, water temperature, and brew time. One last note on variation that we have seen, is that there is a difference in flavor from V-shaped cones vs. flat bottom cones. Water tends to pour more quickly through the V-shaped cones (like the Hario) and tends to brew more slowly in the flat bottom cones (Kalita, as pictured in this email.) Which one is better? There is no good answer for that… it comes down to personal preference. I prefer Kalita, but many others at Black Coffee prefer the Hario… There is no black and white when it comes to coffee; it comes down only to what you like and don’t like. And the only way to know is to experiment.
Want to try making pour-overs? It is a great way to taste coffee at it’s simplest and finest. We have all the gear you need at our shop and online. Enjoy. (And don’t forget to experiment!)